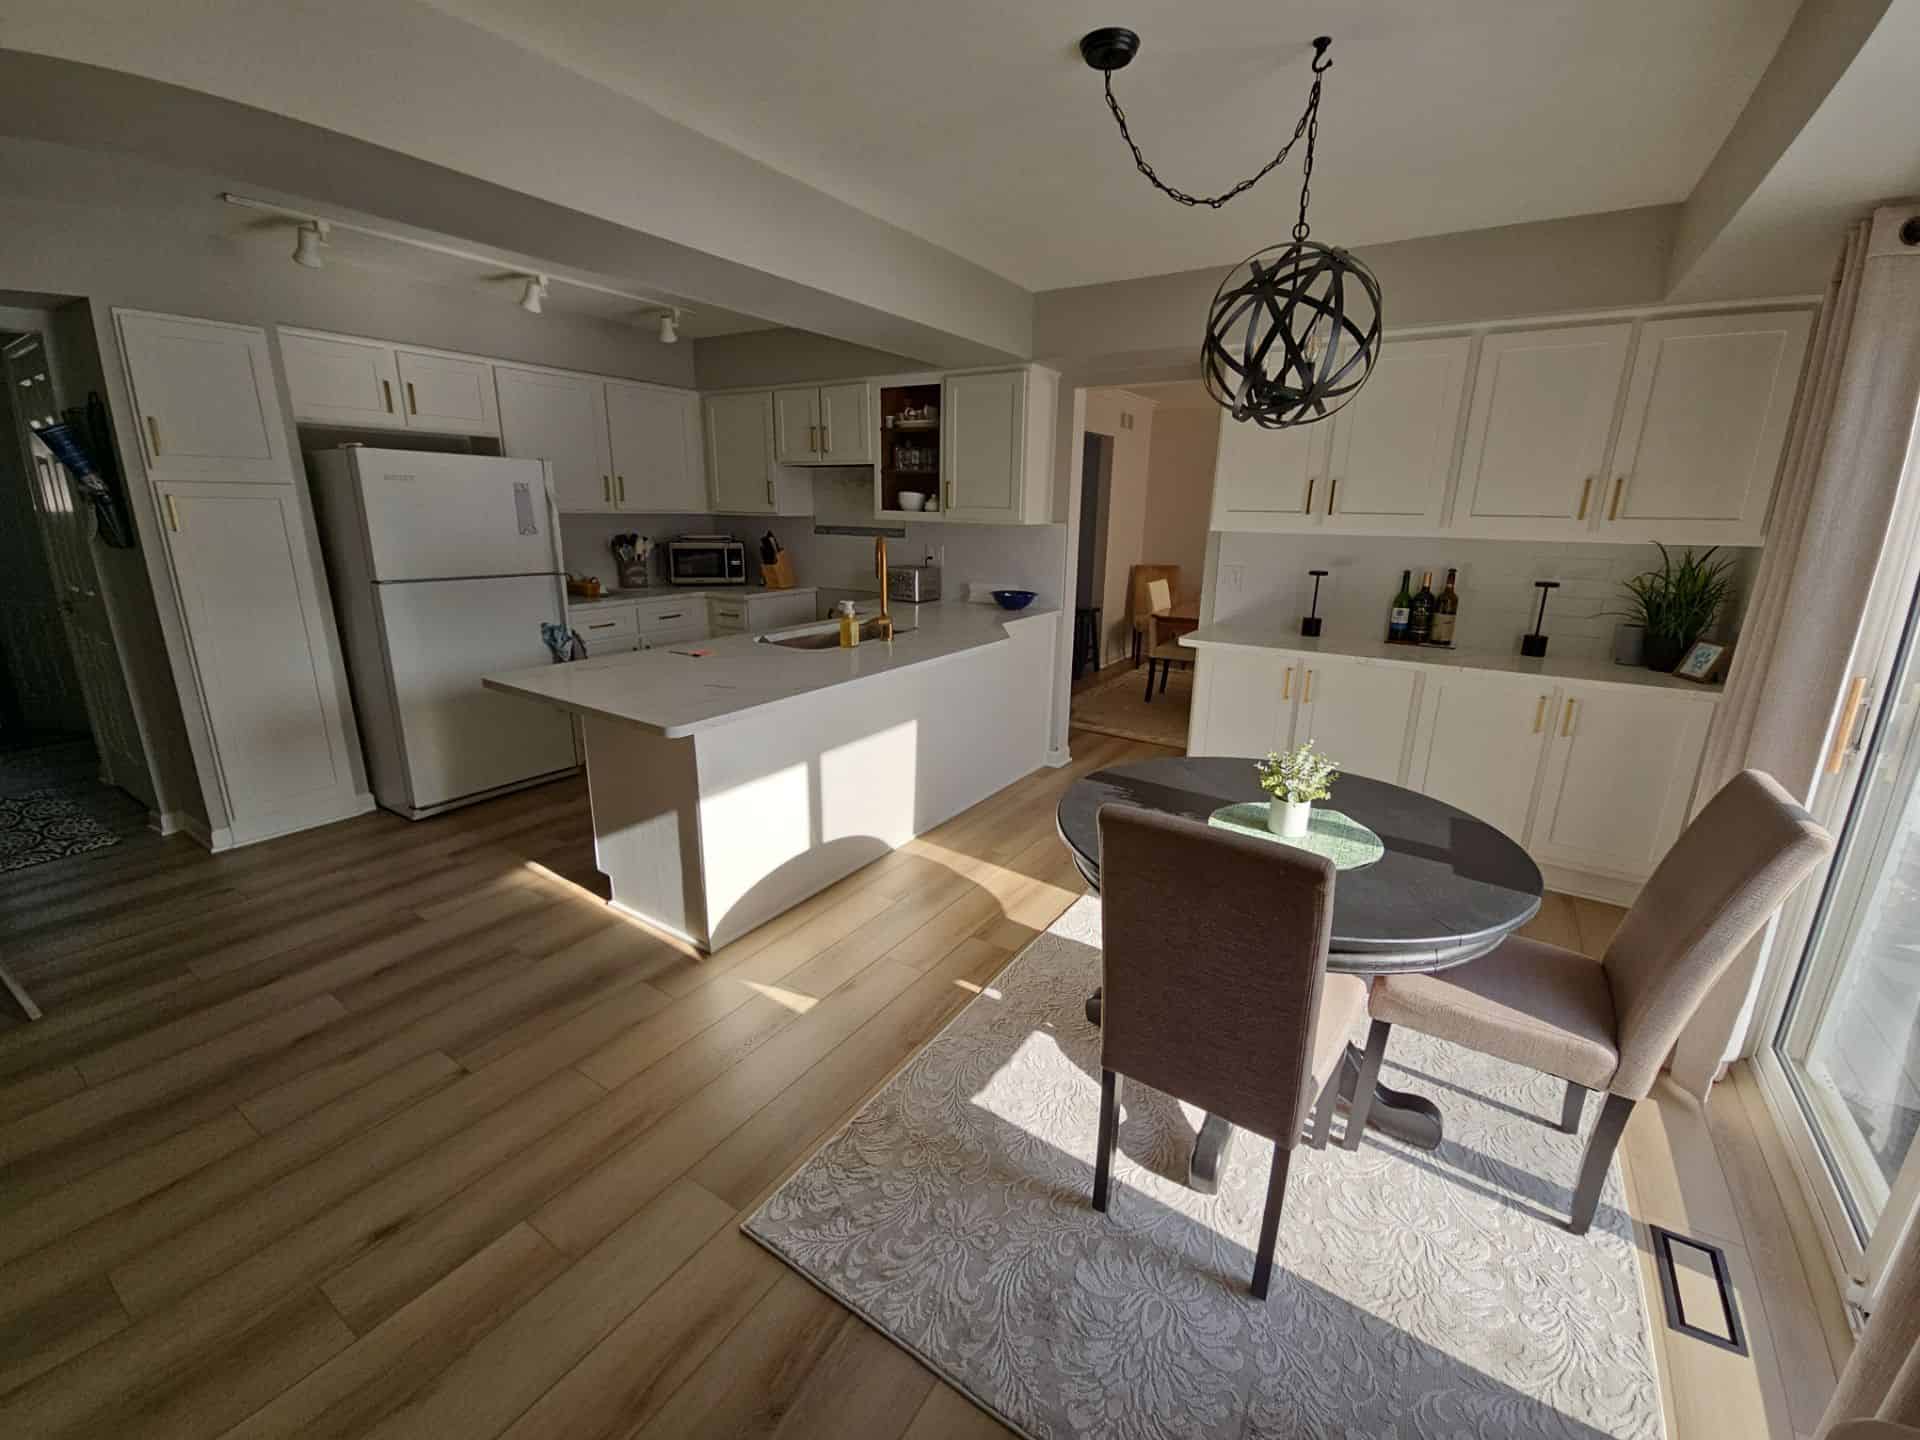
If you’ve been thinking about giving your kitchen a facelift, chances are kitchen cabinet painting is near the top of your list. It’s a smart way to freshen up the heart of your home without tearing everything down. But while it might seem like a simple upgrade, there are kitchen cabinet painting mistakes that can leave you with streaky finishes, chipped edges, or worse—cabinets that need to be redone in a few months.
We’ve worked with homeowners all across Warren, WI, and trust us, we’ve seen it all. From cabinets that didn’t hold paint to ones that started peeling weeks later, most issues come down to the same handful of missteps.
Let’s get into the most common kitchen cabinet painting mistakes—what causes them and how to avoid them.
Key Takeaways:
- Skipping prep work is one of the most common painting mistakes that ruins cabinet finishes.
- Primer is a must, especially when switching paint types like oil to latex.
- Always remove cabinet doors and label hardware before painting.
- The wrong paint finish can lead to sticky cabinets that collect dirt.

Common Kitchen Cabinet Painting Mistakes to Avoid
Before you start picking out colors and finishes, it’s worth knowing which painting mistakes to avoid, especially when it comes to your kitchen cabinets.
This isn’t just about appearance. Small errors in prep, paint choice, or dry time can lead to peeling paint, dirty-looking finishes, and cabinets that need redoing way sooner than expected.
Understanding these common missteps can help your project go a lot smoother—and save you from costly do-overs.
1. Rushing Through Prep Work
The prep stage makes or breaks the entire project. Skipping it is one of the biggest kitchen cabinet painting mistakes we see.
That sticky layer of grease near the stove? It’s not just annoying—it will keep your paint from sticking. Every surface should be scrubbed down with degreasing cleaner. From there, sanding is key, especially if your cabinets have a slick finish or an old coat of glossy paint.
Don’t forget the dust. Any leftover grit can show through the new paint or make it flake. And if your cabinets have small cracks or nicks, wood filler will help smooth them out before paint ever hits the surface.
2. Skipping the Primer
No matter how high-quality your paint is, skipping primer is a mistake that can come back fast.
Cabinets—especially older ones—may have been painted with oil-based paint. Slapping latex paint over that without a primer in between is a recipe for peeling.
The solution? Use a bonding primer that sticks to the old surface and gives your paint something to grip onto. If you’re not sure which primer is right, professional painters in Warren, WI will know whether your cabinets need oil-based primer or if a latex-compatible option will work.
We also break this down further in why primer is necessary, if you’re curious how different primers perform.
3. Choosing the Wrong Paint Finish
Not all paint finishes are created equal, and cabinets are high-traffic surfaces. Using a flat or matte finish might look good for a day, but it’ll collect fingerprints and be tough to clean.
You want something with durability and easy cleaning—usually satin or semi-gloss. Both are tough enough to handle the daily wear of kitchen life. For a full look at your finish options, you might want to take a peek at our paint finishes for cabinets guide.
4. Painting Over Dirty Cabinets
You’d be surprised how many people paint without wiping their cabinets down. It’s a quick way to waste a good gallon of paint.
Kitchen grease, cooking steam, and fingerprints build up over time, especially around handles. Paint won’t stick properly to any of it. The result? Chipped paint within weeks.
Wipe every cabinet with a degreaser or dish soap and water. Let them dry fully. Then move to sanding and priming.
5. Leaving the Doors On
This one seems like a shortcut, but it ends up being one of the biggest kitchen cabinet painting mistakes. Painting with the doors on might feel faster, but it leads to messy edges, missed spots, and uneven coverage.
When you remove the doors, you can paint them flat, which reduces drips and gives you access to every surface. Just make sure to label the doors and hardware so putting them back is a breeze.
Want to know how long this step can take? We broke down the process and how long it takes to paint kitchen cabinets.
6. Not Labeling Doors and Hardware
Once the doors and hinges come off, everything starts to look the same. If you don’t label your parts, you’ll end up guessing which hinge goes where—and doors might not hang properly after reinstalling.
Use small numbered labels or painter’s tape to track which door belongs where. Put hardware in labeled bags. It’s simple, but saves hours later.
7. Applying Paint Too Thick
When paint is applied too thickly, it takes forever to dry and is more likely to drip or peel. Cabinets do better with multiple thin coats.
Yes, this takes more time. But it also creates a smoother, tougher finish that lasts longer and holds up to kitchen life. Use a quality brush for corners and a small roller for flat areas. And always let each coat dry completely before adding another.
8. Using the Wrong Paint Type
Paint choice is everything. Cabinets need something that holds up over time—especially near sinks, stoves, and high-touch spots.
Oil-based paints are traditional and durable, but they can yellow and take longer to dry. Latex paints (especially acrylic latex) dry faster and have less odor, but they need the right prep and primer to stick.
Many professional painters in Warren, WI go for hybrid enamel paints, which give you the durability of oil and the convenience of latex.
9. Skipping the Dry Time
It might feel dry after a few hours, but that doesn’t mean it’s cured. Touching, reattaching hardware, or slamming doors too soon can ruin the finish.
Give your cabinets at least 48 hours before handling. Full curing can take up to a week, so gentle use is smart.
10. Remodeling After Painting
This one is less obvious but still costly. If you’re planning new countertops, a backsplash, or even new floors—don’t paint first. Tools, dust, and debris from other projects can mess up your freshly painted cabinets.
Always save painting for the last step of your kitchen upgrade. If you’re also thinking of changing the cabinet door styles, do that before you even think about paint.
Final Thoughts
Kitchen cabinet painting mistakes are easier to avoid when you know what to look for. From skipping prep work to picking the wrong finish, each misstep can lead to cabinets that chip, stain, or fall flat way too soon.
If you want it done right the first time, working with professional painters in Warren, WI is your best move. You’ll avoid time-consuming problems and get a long-lasting finish that looks great and performs even better.
Here’s how Roy & Paul Cabinet Painting makes it simple:
- We prep every surface with care and precision
- We use the right primer, paints, and tools for your specific cabinets
- We label and protect every part of your kitchen
- We offer expert advice on paint sheen for cabinets, materials, and more
- We serve Warren, WI and nearby areas with dependable results
Call Roy & Paul Cabinet Painting today at 248-665-8500 for a FREE estimate. We also service Lake Orion, Detroit, Novi, MI and the surrounding areas.
Let’s make your kitchen look like new again—without the headaches.

